


Noise cancelling is one of the main reasons why so many people choose the AirPods Pro. Whether you’re on the train, working in the office, or simply want some peace and quiet: with active noise cancellation, you largely shut out the outside world. But how exactly do you turn on noise cancelling on AirPods Pro? In this article, we explain it step by step, without unnecessary fuss.
What is noise cancelling on AirPods Pro?
Noise cancelling, also known as active noise cancellation, uses microphones to measure ambient sound and then neutralizes it with an opposing sound. The result: fewer distracting noises and more focus on your music, podcast, or phone call.
The AirPods Pro offer three sound modes:
- Noise cancelling: ambient noise is actively reduced
- Transparency: you can clearly hear what’s happening around you
- Off: no additional sound processing
In most situations, noise cancelling is ideal—especially in busy or noisy environments.
Which AirPods support noise cancelling?
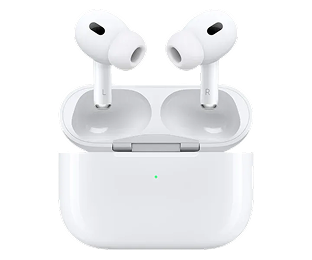
Not all AirPods have this feature. Noise cancelling is exclusively available on the AirPods Pro 1 and the AirPods Pro 2. Standard AirPods and AirPods (without Pro) do not support this feature.
Not sure which model you have? You can easily check this via the Bluetooth settings on your iPhone.
Turning on noise cancelling via your AirPods Pro
The fastest way to turn on noise cancelling is directly through the AirPods themselves.
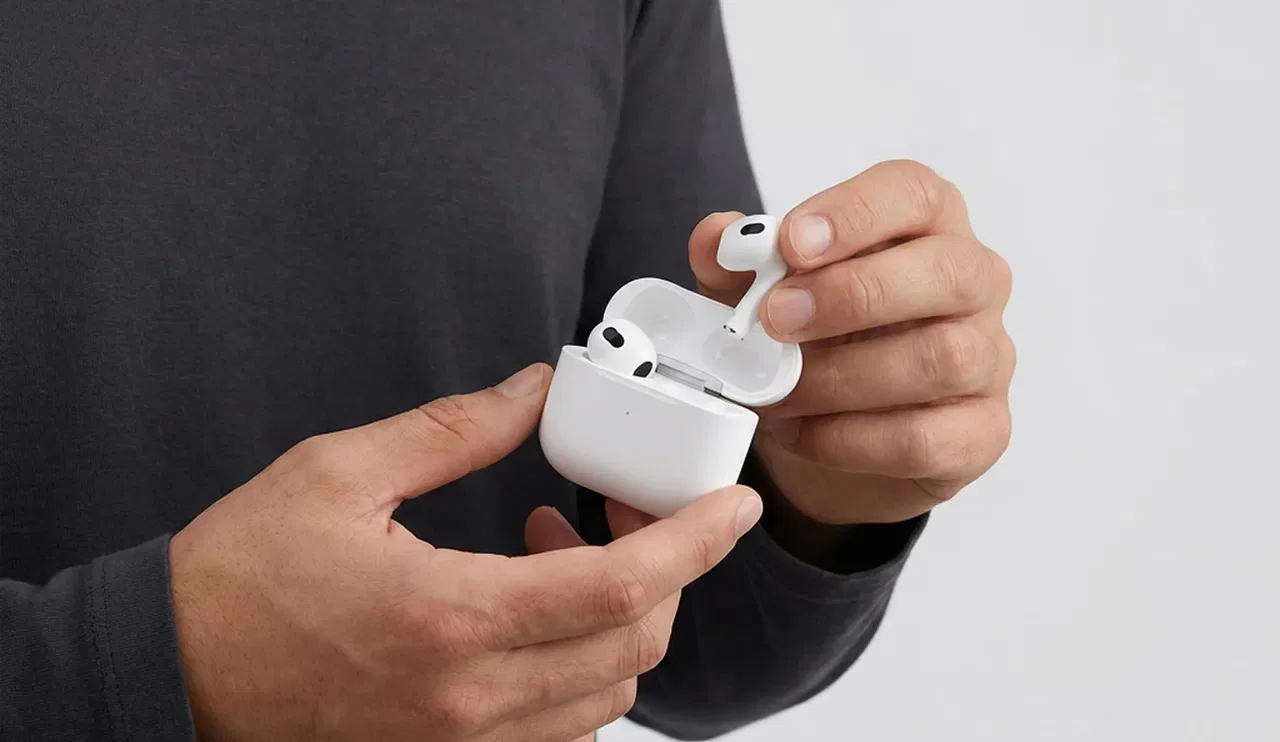
Make sure both AirPods are in your ears, then squeeze and hold the stem of one of the AirPods Pro for a few seconds. You’ll hear a subtle sound indicating that the sound mode has changed. Once noise cancelling is active, you’ll clearly notice less ambient noise.
Continue squeezing to switch between noise cancelling and Transparency mode.
Turning on noise cancelling via your iPhone or iPad

Would you prefer to visually check whether noise cancelling is enabled? Then your iPhone or iPad is the most convenient option.
Open the Control Center by swiping down from the top of the screen (or up from the bottom on older models). Press and hold the volume icon while your AirPods Pro are connected. You’ll now see the different sound modes. Select Noise Cancelling.
You can also do this via:
Settings → Bluetooth → tap the i icon next to your AirPods Pro → choose Noise Cancelling.
Using noise cancelling on Mac or Apple Watch
Using your AirPods Pro with a Mac? Click the sound icon in the menu bar while your AirPods are connected. Here too, you can easily switch between the different sound modes.
On the Apple Watch, it works in a similar way: open the Control Center, tap the AirPods icon, and select noise cancelling.
Noise cancelling not working? Here’s what you can do
Sometimes noise cancelling may seem less effective or not work at all. This often has a simple cause. For example, check whether:
- you are wearing both AirPods (noise cancelling does not work with just one earbud)
- the correct ear tip size is selected for a proper seal
- your AirPods software is up to date
A poor seal is one of the most common reasons why noise cancelling falls short. Take a moment to try different ear tips—it often makes a world of difference.
Extra tips for the best results
For the best noise cancelling experience, it’s smart to:
- clean your AirPods regularly
- check whether your iPhone and AirPods have the latest updates installed
- use Transparency mode in situations where safety is important, such as cycling or walking in busy traffic
Turning on noise cancelling on AirPods Pro is fortunately very easy. Whether you use the stem, your iPhone, or switch via your Mac: within seconds, you can enjoy peace and focus. Take a little time to set everything up properly, because with the right fit and settings, you’ll truly get the most out of your AirPods Pro.
Blog posts


Do you have any questions or need advice?
Please feel free to contact us. We are available on workdays between 10:00 - 17:00.


TrustScore 4.9 | 235+ reviews
© Copyright Swappod 2026


Apple, AirPods, and AirPods Pro are trademarks of Apple Inc. Swappod is an independent seller and not affiliated with Apple Inc.
Shopping cart

Your shopping cart is empty